Binding tape delicate 24mm x 50m
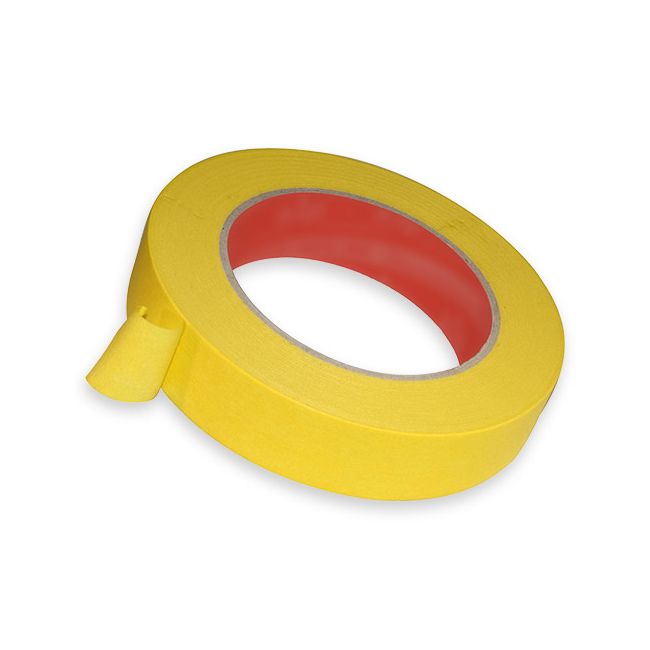
In our quest for good binding tape, we tested a lot of different types of tape. This one is the best with its strong adhesion, good elasticity and solid paper. Even if you leave the tape for several days, it will still come loose without taking any material. Especially suited for delicate woods! Always test on a piece of scrap wood before applying. Ideal for securing binding and gluing book matched tops.
For gluing your binding with binding tape:
When your binding channel is clean and your binding is formed, you can glue it and fix it with for example binding tape:
- Use the Titebond wood glue for gluing wooden bindings and the UHU Binding glue for plastic binding.
- Take the white binding tape or the yellow one for delicate woods and tear strips of about 8 cm.
- Glue a piece of about 40 cm each time and place the binding in it. Secure the first 20 cm with tape and then glue another 20 cm, so that you can slide through 20 cm at a time and work comfortably.
- Place the binding in the first section of your channel and take a strip of tape. Put the tape vertically on the body in such a way that about half is on the sides and the other half over the binding and on the top. Press the tape on the side, put your hand on it and stretch the tape slightly by pulling it and stick it on top. Rub over the tape to ensure it is set tight.
- Stick the tapes in the same way with 2 cm spacing to secure your binding around.
For gluing book matched tops with binding tape:
Sticking a book matched top together usually does not work with clamps. These are often not long enough, can twist the thin top and can damage the wood. For sticking the two parts together, we recommend the method with binding tape:
- Make sure that the parts are flat, preferably even thick and that the edges to be glued are straight. This is best done by planing or milling a straight guide. Make them dust and grease free.
- Take the white binding tape or the yellow one for delicate woods and tear strips of about 25 cm.
- Have two raising blocks at hand of about 8 cm high, a simple cork sanding block on its side will do perfectly.
- Apply Titebond wood glue on one side and place it flat on a worktop.
- Place the other top with the right side against the glued side and lift the other side with blocks so that it is raised like a wing.
- Take a strip of binding tape and stick it straight from the first top to the second. Because you have the parts in a corner, there is still no tape on the connection. Press the glued ends of the tape well.
- Stick in this way with 2 to 3 cm gaps tape over the entire length of the top.
- Now remove the block and put your hands flat on the top of each part, over the tape, and press the two parts flat. Because of this way of sticking, the tape now stretches slightly and gives by its elasticity a tensile force through which the parts of the top are pressed against each other.
- Turn your top and also secure this side with tape. Stick one end of the tape to one part, press well, stretch the tape and stick the other end onto the other part and then press the whole tape firmly. Continue till you have the some number of tapes on this side as well.
- Wipe away any excess glue and put your top away to dry, possibly with a piece of baking paper underneath so that it does not stick.
- Let it dry for 24 hours and then carefully remove the tape.
Item | 135203 |
---|---|
Brand | Other |
Color | Yellow |
Material | Paper |
Size | 16mm x 50m |
Type | Binding Glue |
Weight | 152 g |
Sales unit | pce |
Good to know!
At Guitar Goods we do our very best to make things as easy and fun as possible, for example: